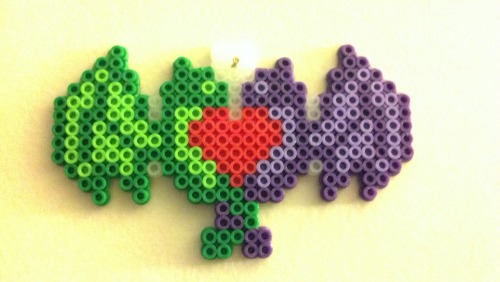
I decided I needed to deck out my work laptop! I found these little guys on Google- their original Tumblr page couldn't be found.
Showing posts with label DIY. Show all posts
Saturday, February 16, 2013
Saturday, December 22, 2012
Dice Case: A Dungeons and Dragons Christmas Gift
To my surprise, I was having a very difficult time picking out a Christmas gift for Kareshi. I could think of 1,000 things he would love to have, but none of them felt like the "right" gift for him.
This is what I finally came up with:
A set of Game Science's "high precision" gaming dice, with a customized dice box.
The idea came to me shortly after Thanksgiving. I found the dice set on ThinkGeek, one of my favorite online stores. I sketched rough plans and e-mailed them to my dad. When I got home, we talked through the plans and finalized the design.
We chose to use red oak for the box and walnut for the interior.
After collecting all the materials, the next step, of course, is getting the wood to be the correct size.
We then glued the pieces together to create a complete box. Once the box had dried, the corners were rounded and the box was cut to make two identical halves.
The next part was making the dividers. This was the most challenging part to me. My father had a pretty good idea of how he thought we should do this, but I was totally lost. He had to redo a lot of my work. I am thankful he is patient with me!
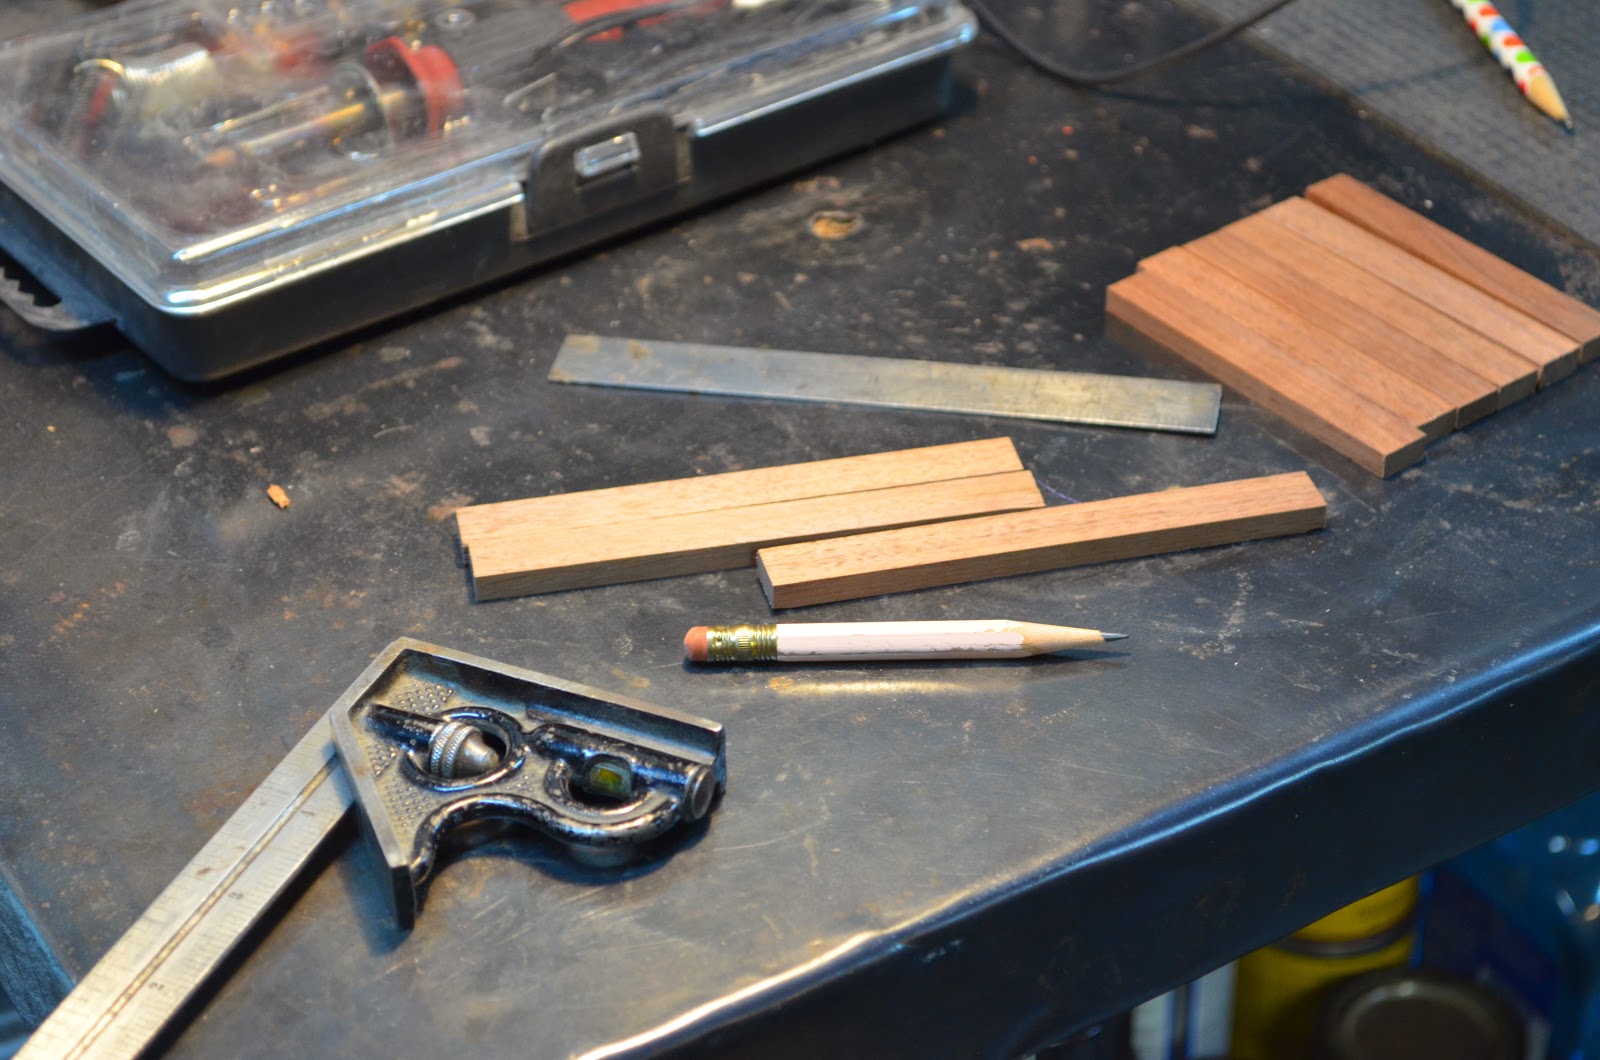
We sized and cut strips of wood to fit snugly in our box halves.
The main tool used to create the notches was the table saw. Now, I don't know technical terms at all, so please bare with me on this explanation. Each of the slots are one inch, so the notches has to be in one inch increments. We put a piece of wood against the fence so that when the wood was pushed against it, the blade would hit at exactly one inch.
Each notch took a little over two and a half cuts.
The wood burning was my favorite step. I did a simple border on the top and a to/from on the bottom.
I then sanded the halves down so everything was flush.
My father chiseled away little groves for the hinges to fit.
Finally, we finished, waxed, and screwed the hinges and latch on the box.
I am so happy with how this turned out! I also laid some felt in the compartments and sewed a little red pouch to hold the box.
I gave it to Kareshi this morning, and he was speechless! Sometimes, I think dice are the only reason he loves Dungeons and Dragons. XD He loves the dice case and it was totally worth all the work. I cannot wait until we have a chance to play DnD again so he can try them out!
Monday, November 26, 2012
Magic: The Gathering- An Advent Calendar
I had no idea what to get my eleven-year-old brother for Christmas. After brainstorming for a while, I decided that I wanted to get him a LEGO Star Wars Advent Calendar, but I wasn't really willing to fork out fifty bucks for twenty or so dollars worth of pieces.
I really like the idea of giving him an advent calendar. And after coming home from college to "DANI! I WENT TO THE COMIC BOOK STORE TODAY! LOOK AT THE CARDS I GOT!", I knew that I must make him an advent calendar that would feed his new addiction- Magic: The Gathering.
I bought a Deck Builder's Toolkit of Amazon for $15. Kareshi helped me sort the cards into twenty-four categories, one category for each day in December until Christmas.
The first envelope is a wrapper to a booster pack. This was Kareshi's idea. He thought I'd be good to make my brother guess what the other envelopes were. Surprisingly, my brother didn't notice the colors of the tree "ornaments"- mana! Envelope 2 contains the tokens from the booster packs.
3 - 8: Land
9 - 20: Each contain a "set" of 3 or 4 cards. Angles, vampires, birds, werewolves, etc.
21 - 23: Double-Faced cards (which my brother loves), Rares, and Mythic Rares.
24: Booster pack!
Day 25 will be his actual present under the tree- the rest of the cards from the toolkit, along with the box it came with.
I can't wait for the first of December to come!
Friday, September 28, 2012
Kitties and Candy Corn: Perfect Hats for a Fall Day
Last weekend, I went back home so I could spend some time with my boyfriend, (referred to as Kareshi). I decided he needed a hat!
Clearkid of DeviantArt [link] has create an awesome tutorial [link] on making fleece hats. I've used her hat-making-method before and it's awesomely simple, and I definitely recommend checking it out.
These were the first things I have sewn in months and I had so much fun doing it!
Kitty hats! The purple with pink ears is the one I made for Kareshi. I made the blue with rainbow ears for myself. ^.^
Now, one of my favorite holidays is coming up- Halloween! So I had to make a Halloween hat, of course. :3
Kareshi wearing his hat!
I think he likes it. XD I can't wait to go back home and make more hats!
Sunday, July 15, 2012
Team Tom Hanks: Coasters
I know I ramble about Team Tom Hanks a lot. But let me tell you- they're awesome people.
Well, to honor their awesomeness, I wanted to give them all something sweet for graduation. So I made them all Tom Hanks coasters.
I made eight sets of these suckers for the gang. And I think they really like them. XD
The idea came from "Carrot Top Mom"- an awesome blog filled with a family's memories, crafts, recipes- everything. Her coaster "how to" is perfect.
Be sure to check out the rest of her blog while you are there!
Tuesday, May 29, 2012
Magic Life Counter
A dear friend of mine recently taught me how to play Magic: The Gathering.
Even though I don't have any sweet Planeswalker-skills [yet], I'm totally in the game and I can't wait until I have some extra cash to start buying and building decks and such.
Speaking of buying decks- I was browsing the Internet today, looking for life counters.
The life counters that Wizards of the Coast are making right now:
Photo Cred: Link
Basically, it's a $10 piece of plastic with a two dials. In my opinion- that's $10 I'd rather not spend. So, if you're sick of tracking you life with good old pencil and paper, here's the solution I came up with:
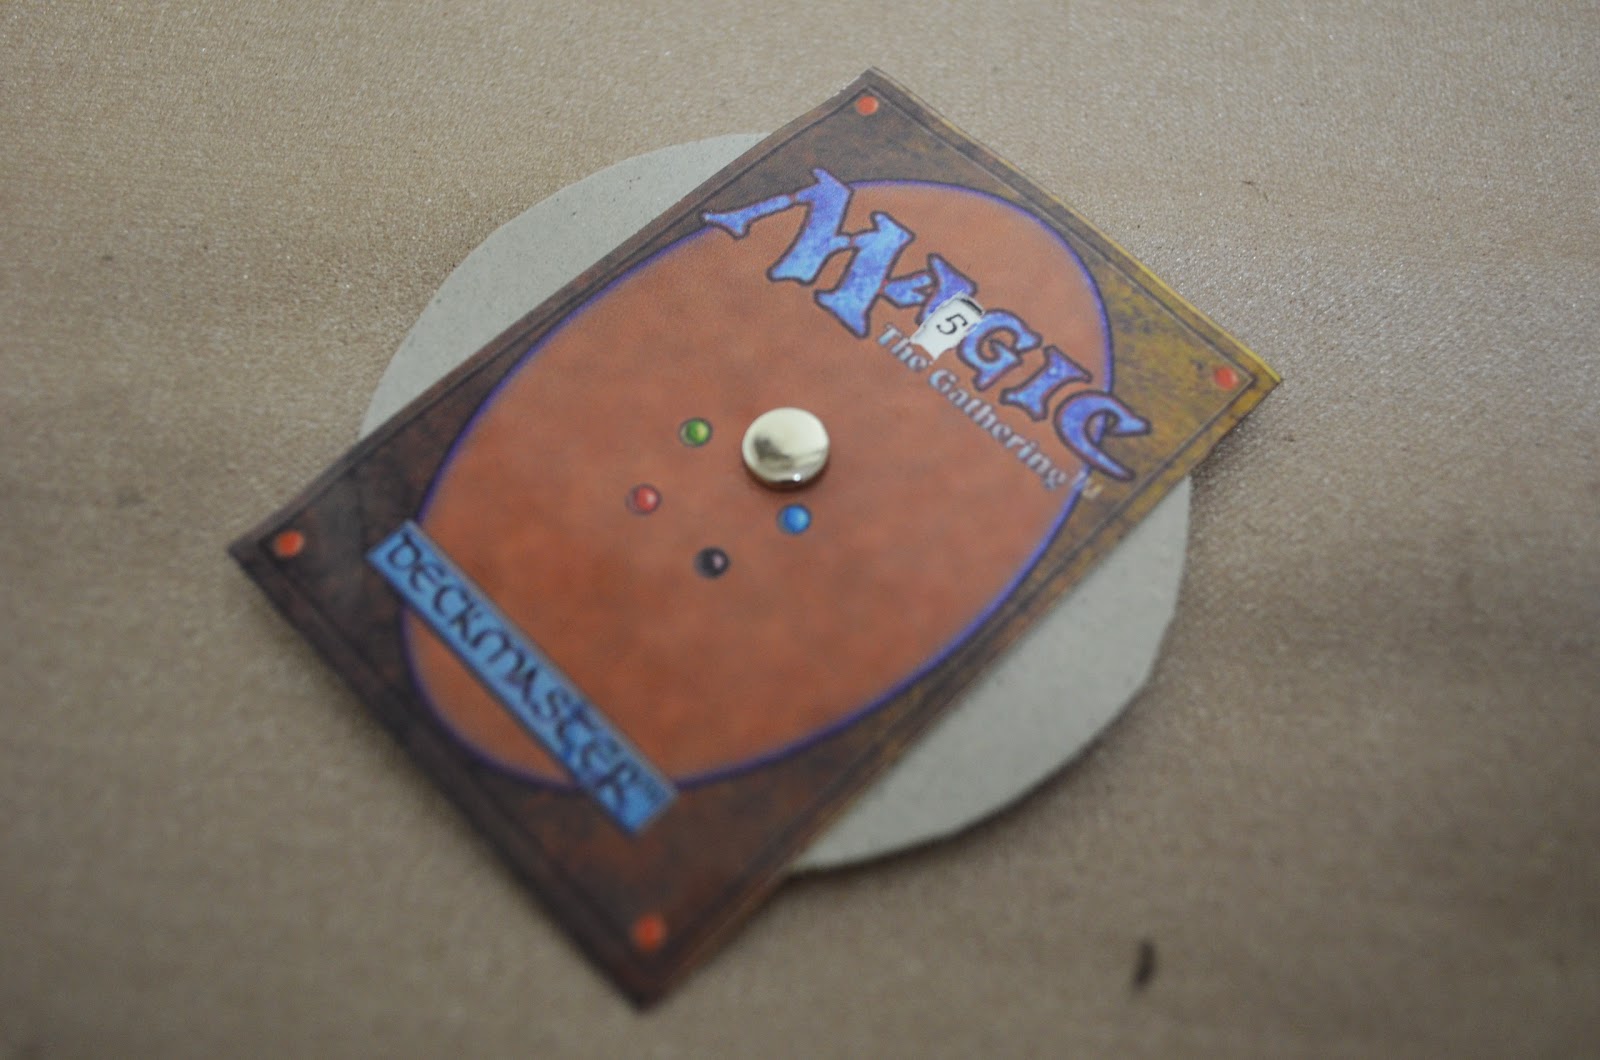
I used a piece of photo paper with the Magic card baking printed on it, box board, glue, a paper fastener, a copy of the dial (below), a ruler, and scissors.
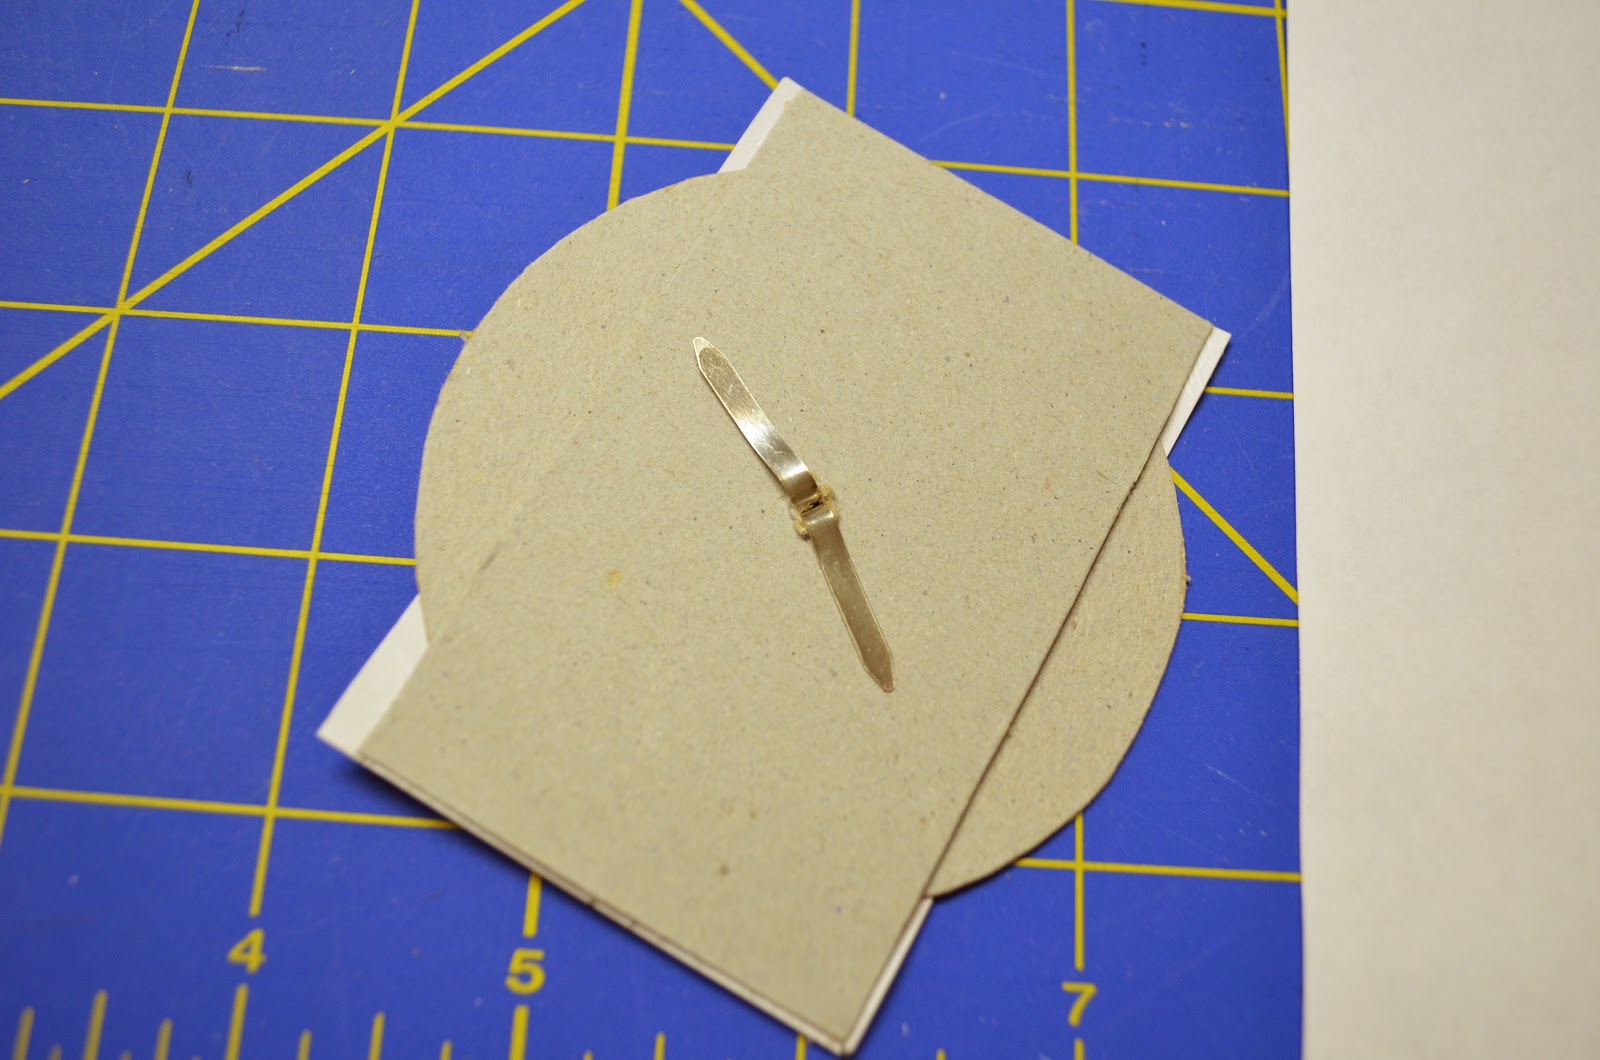
Cut out a piece of box board that is the same size as the card. Then cut out a circle for the dial. The inside circle on a roll of masking tape made for a good tracer. Make small holes in the exact center of each with the tip of the scissor.
Glue the center of the dial to the center of the dial. Obviously, I need to go back to the 8th grade and take geometry again- my "center of the circle" is not exactly the center!
Cut a small rectangle about a fourth of the way down from the top.
Stack the three pieces together and put the fastener in. Put a little glue on the top and bottom of the card, so it sticks to the backing. Make sure to not get any on the dial or it won't work!
Pretty simple, huh? XD
Wednesday, March 28, 2012
Planeswalker's Satchel
I've been working on this for a while, and I am very happy that it's finished!
It can hold two 75-card decks (in sleeves).
It was pretty simple to make! It just took quite some time. Lots of gluing and drying and gluing and drying.
I started with a wooden frame constructed from scrap wood.
I found a ton of vinyl on the remnants rack at JoAnn for $3.33! It was perfect for covering the frame. The vinyl was glued on in layers, allowing each layer to dry for 24 hours before adding the next. I don't have pictures of the last steps because my memory card was full and I completely forgot about it until today. XD
Subscribe to:
Posts (Atom)