Showing posts with label my work. Show all posts

Saturday, December 22, 2012

Dice Case: A Dungeons and Dragons Christmas Gift

To my surprise, I was having a very difficult time picking out a Christmas gift for Kareshi. I could think of 1,000 things he would love to have, but none of them felt like the "right" gift for him.

This is what I finally came up with:


A set of Game Science's "high precision" gaming dice, with a customized dice box.


The idea came to me shortly after Thanksgiving. I found the dice set on ThinkGeek, one of my favorite online stores. I sketched rough plans and e-mailed them to my dad. When I got home, we talked through the plans and finalized the design.


We chose to use red oak for the box and walnut for the interior.

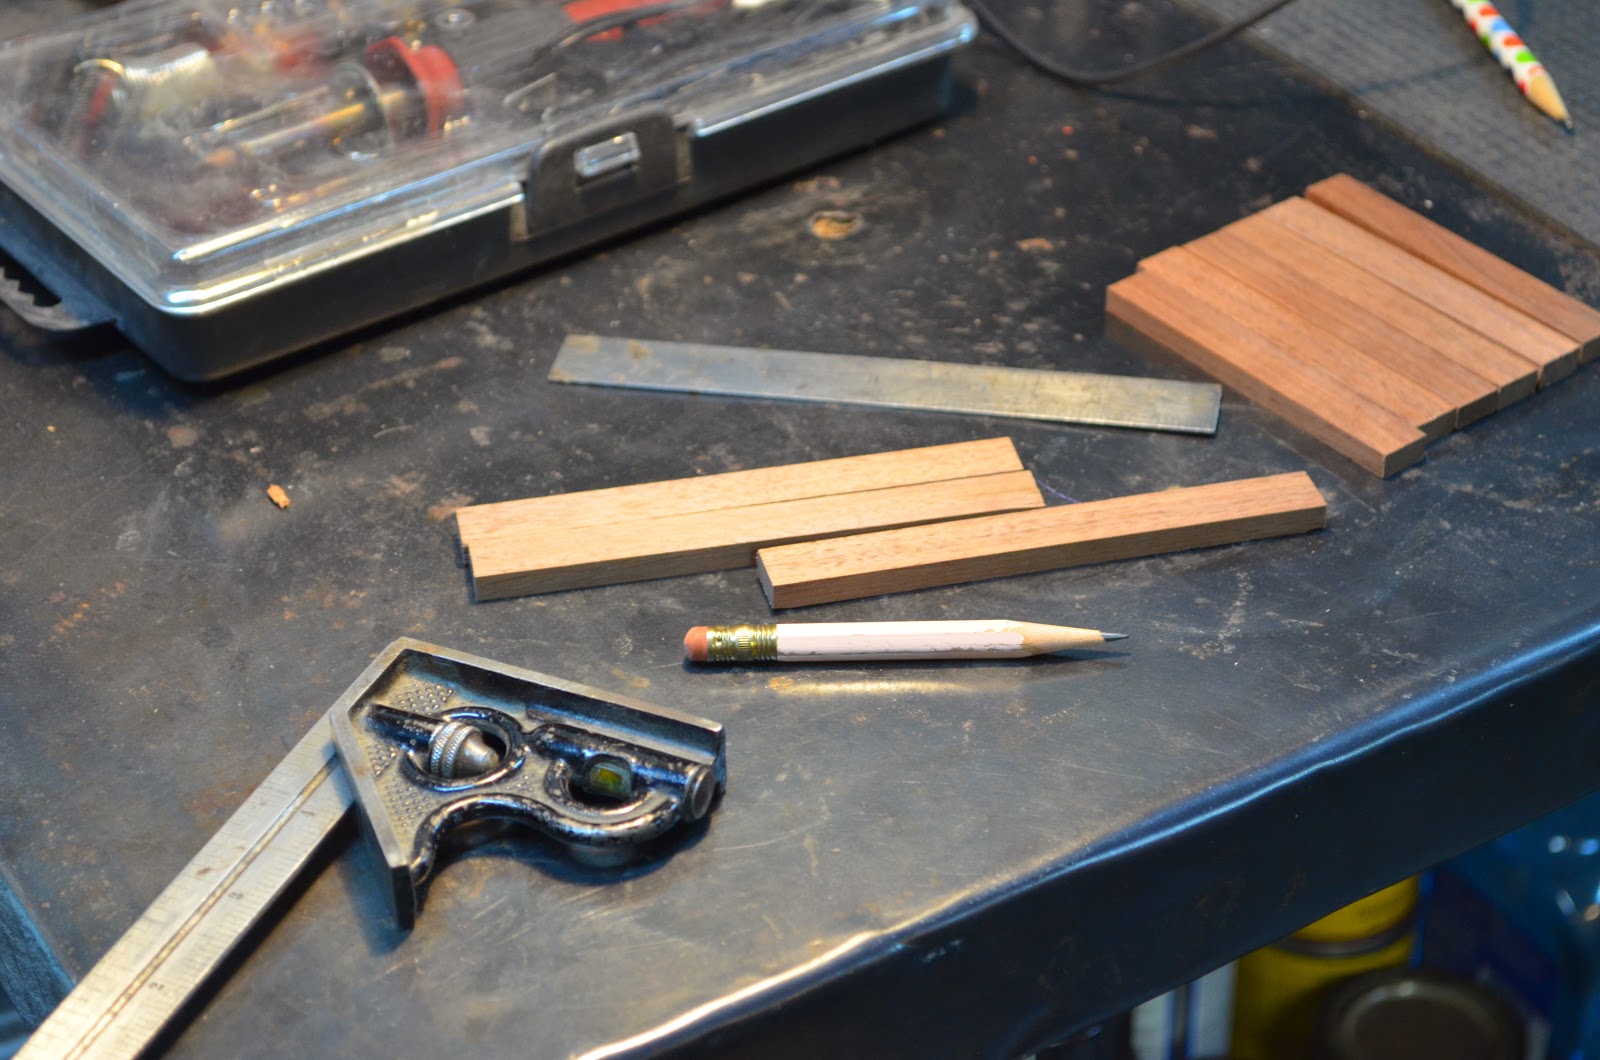
After collecting all the materials, the next step, of course, is getting the wood to be the correct size.


We then glued the pieces together to create a complete box. Once the box had dried, the corners were rounded and the box was cut to make two identical halves.


The next part was making the dividers. This was the most challenging part to me. My father had a pretty good idea of how he thought we should do this, but I was totally lost. He had to redo a lot of my work. I am thankful he is patient with me!


We sized and cut strips of wood to fit snugly in our box halves. 


The main tool used to create the notches was the table saw. Now, I don't know technical terms at all, so please bare with me on this explanation. Each of the slots are one inch, so the notches has to be in one inch increments. We put a piece of wood against the fence so that when the wood was pushed against it, the blade would hit at exactly one inch.


Each notch took a little over two and a half cuts.


The wood burning was my favorite step. I did a simple border on the top and a to/from on the bottom. 


I then sanded the halves down so everything was flush.


My father chiseled away little groves for the hinges to fit.


Finally, we finished, waxed, and screwed the hinges and latch on the box.


I am so happy with how this turned out! I also laid some felt in the compartments and sewed a little red pouch to hold the box.


I gave it to Kareshi this morning, and he was speechless! Sometimes, I think dice are the only reason he loves Dungeons and Dragons. XD He loves the dice case and it was totally worth all the work. I cannot wait until we have a chance to play DnD again so he can try them out!

Friday, September 28, 2012

Kitties and Candy Corn: Perfect Hats for a Fall Day

Last weekend, I went back home so I could spend some time with my boyfriend, (referred to as Kareshi). I decided he needed a hat!

Clearkid of DeviantArt [link] has create an awesome tutorial [link] on making fleece hats. I've used her hat-making-method before and it's awesomely simple, and I definitely recommend checking it out.

These were the first things I have sewn in months and I had so much fun doing it!


Kitty hats! The purple with pink ears is the one I made for Kareshi. I made the blue with rainbow ears for myself. ^.^

Now, one of my favorite holidays is coming up- Halloween! So I had to make a Halloween hat, of course. :3

Kareshi wearing his hat!


I think he likes it. XD I can't wait to go back home and make more hats!

Sunday, July 15, 2012

I'll be the Princess, and you be Mario.

 
I have this friend that I'm pretty close to. We pretty much spend every day together, and he's amazing. I wanted to make him something cool to remind him how important our friendship is.

What I used:

Clear Shrinky Dink Paper
Cord
Skinny Black Sharpie
Colored Pencils

This template, printed out on a piece of letter size paper:  Link
The circle has a circumference of about two and half inches.

Tools:

Oven
Cookie Sheet
Sand Paper
Scissors
Hole Punch

The process is really quite simple. Sand the clear shrinky dink paper in a cross hatch pattern. Place the shrinky dink paper on top of the pattern, and trace Mario and Peach with the sharpie. Color them in anyway you want. Cut out the circle, punch a few holes in the top, and stick it in the oven according to the directions on the package. (Most Commonly: Bake for 1 to 3 minutes at 325 degrees Fahrenheit) Let it cool and tie your cord on it. Ta-da!


I am very happy with how these turned out. I think he is very happy with them, too. [=

Saturday, June 16, 2012

Your PORTAL to the future.


Graduation has finally come and passed. I had to think of something sweet to give my friends before we all head off to college! We're all huge Portal fans, so this is what I came up with.


Unfortunately, I had to miss a few open houses today. I've had such an awful sore throat these past few days, so I went to the med stop this morning- strep throat. My ears hurt, I'm tired, I can't eat anything, and I'm CONTAGIOUS! But hey- it's an excuse to stay inside and play Portal all day. XD I just downloaded BioShock, recommended to me by my best friend, so I'll maybe check that out today, too.

Wednesday, March 28, 2012

Planeswalker's Satchel


I've been working on this for a while, and I am very happy that it's finished!


It can hold two 75-card decks (in sleeves).


It was pretty simple to make! It just took quite some time. Lots of gluing and drying and gluing and drying.


I started with a wooden frame constructed from scrap wood.


I found a ton of vinyl on the remnants rack at JoAnn for $3.33! It was perfect for covering the frame. The vinyl was glued on in layers, allowing each layer to dry for 24 hours before adding the next. I don't have pictures of the last steps because my memory card was full and I completely forgot about it until today. XD


Sunday, February 19, 2012

Maybe it's best.

Alright- so a less nerdy, more serious topic today. I'm sorry this is not what I normally do, but I really want to show people more of my photography. I promise I'll get back to the good stuff in the next few days. I'd really appreciate it if you'd check this out:

As a photographer, it’s always been my goal to capture people’s emotions. The happy, the sad, the laughter, the tears. But it’s rare to turn the camera on myself. I express myself through others and objects, but it’s not often that I become the subject of my own work.

Art is for reflection- being able to look at a piece of work, and understanding something about yourself that you never saw before. I usually don’t obsess over a piece of my work. Maybe it’s just because this concept has been floating around in my head for a while, but I take so much from this.

As usual, I am open to all comments and criticisms, and I am looking forward to hearing your thoughts.

Saturday, February 11, 2012

For The Horde!!!


I decided I need a new school bag. So I thought I'd get something to show of my political faction in World of Warcraft.


 (Hehe- I look super cheesy. It was really cold outside and I had no desire to retake the shot. XD)

I started with a bag I got at a thrift store for a dollar. My original plan was to sew a Pac-Man design that I cross-stitched on it, but the Pac-Man design was too wide.


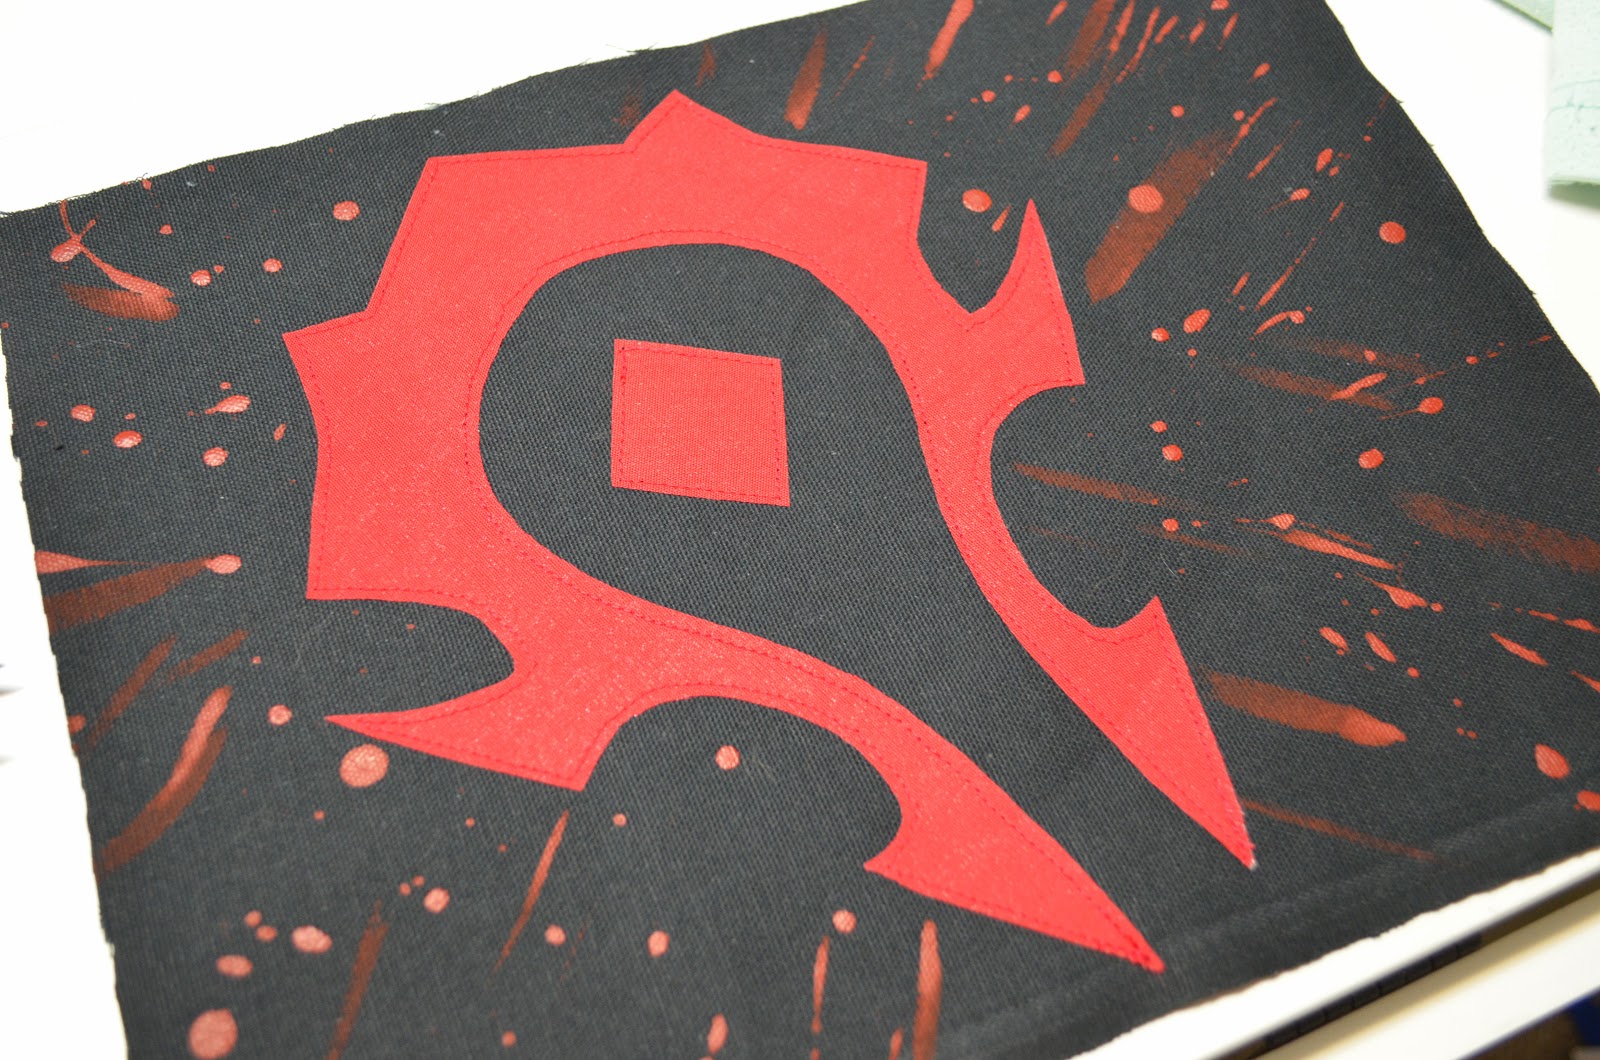
I gathered some material, found a template, and sketched up a design that I liked.

  I got my template from here. Thanks, disposableusername!


 I painted the background first, then I used heat-n-bond to attach the insignia.


The most difficult part was sewing it to the front of the bag. My machine handled it well, but I was worried it was going to be too thick.

I am super happy with how this turned out. Now I'll be going to school in style. XD *Happy Dance*